You must first set up your account so you can create additional charge sections. Click here to find out how to do this. Then follow the steps below to set up a new mileage matrix.
Please note: this article applies only to a mileage matrix. If you are creating a mileage matrix please click here.
1. Go Main Navigation > Administration > Default Settings tab
2. Click Edit and then the green Add New button under additional charge templates.
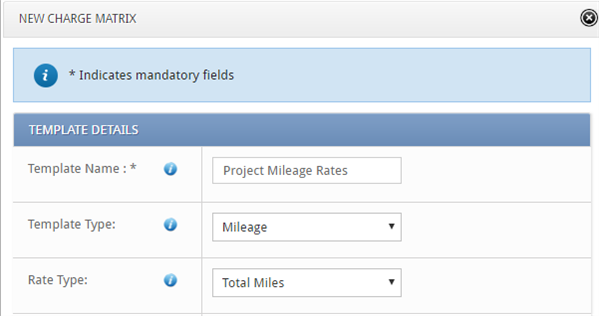
3. The New Charge Matrix box will appear. Enter a name for your template. Users will choose this first when assigning time to the matrix so make sure it is something they will recognise.
4. Choose Mileage as the template type.
5. The template type will automatically select Total Miles.
6. Choose the number of rows for the matrix
7. Enter a description of the rows. This will show above the drop down for your users to select. Eg: this could be Starting Office and the drop down could show a list of offices users could begin a journey at.

8. Enter the number of columns for the matrix
9. Enter a description of the columns. This will show above the drop down for your users to select. Eg: this could be Project and the drop down could show a list of different projects users may have to work at.
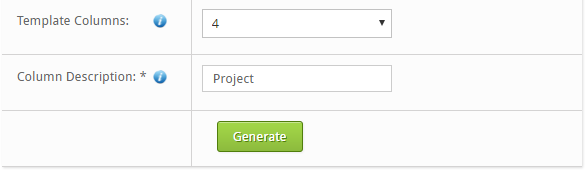
10. Click the green Generate button to generate a matrix table below.
11. Enter the values for the table. The blue boxes will be the options the users choose while the white boxes are the rates that will be pulled through based on what is selected (see example below)
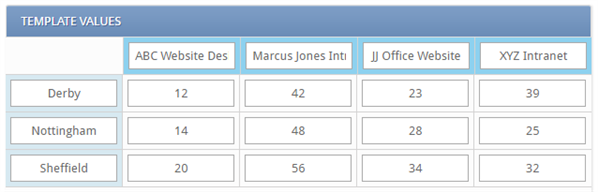
Eg: If a user was to choose ‘Derby' and then ‘JJ Office Website' the rate would be £55.
12.If you would like to add a sub template, follow the steps below. If not, simply click Save.
A sub template is another table of matrix’s assigned to this charge matrix. This is a monetary value that can include extra charges.
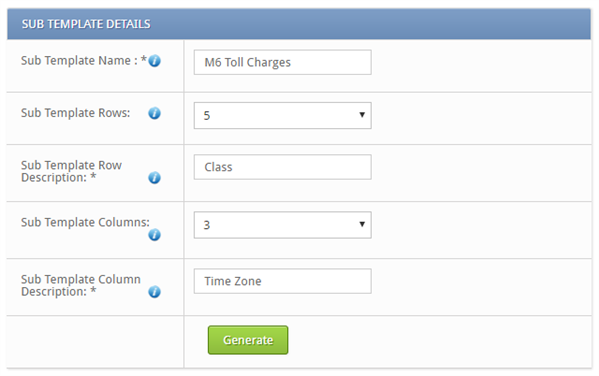
13. Click Include Sub-Template. Sub Template Details section should appear.

14. Enter a name for your sub template, the number of rows & description and number of columns & description as you did when creating the main template.
15. Click Generate to generate the sub template
16. You can add in the values for the table as you did for the main template. These will be monetary values that will add to the mileage rate (see example below)
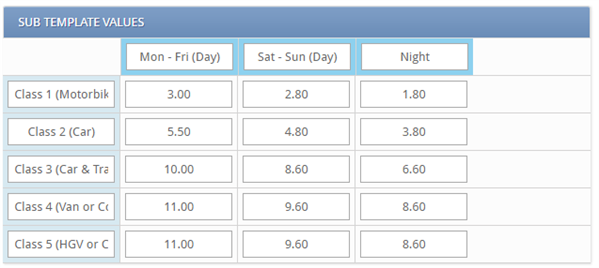
Eg: if a user selects Class 2 (Car) and Night £3.80 will be added onto their mileage claim.
17. Once you have finished adding rates, click Save.
18. Make sure you click Save at the bottom of the General Settings tab.
19. Users will now be able to select the matrix when creating a new mileage expense.